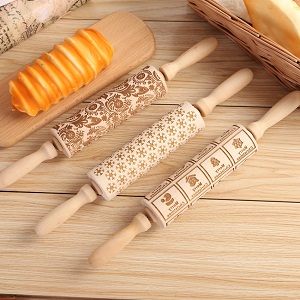
So, you’ve got this embossed rolling pin, and you’re wondering how to use it like a pro, right?

Steps
No worries; we'll break it down into simple steps for you.Step 1: Dough Prep
First things first, you need some dough. Go for cookie dough, shortbread, pie crust, or fondant—they're perfect for embossing.Step 2: Chill out
After mixing your dough, pop it in the fridge for about half an hour. Cold dough is easier to handle and takes the patterns like a champ.Step 3: Roll It Out
Now, roll out your dough into a flat sheet with a regular rolling pin. Make sure it's even and big enough for your embossed rolling pin.Step 4: Flour Power
Sprinkle some flour on your work surface to prevent the dough from sticking.Step 5: Ready to Roll
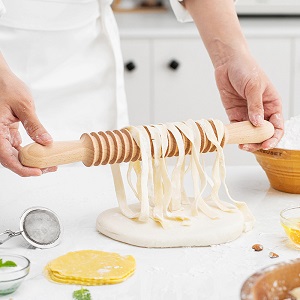
Take your embossed rolling pin and make sure it's clean and dry. A light dusting of flour on it can help avoid sticking.Step 6: Get Rolling
Hold onto those handles and gently press the embossed rolling pin as you roll it over the dough. Go in one direction to create a consistent pattern. Make sure you cover the whole surface of the dough.Step 7: Mix It Up
Mastering the Art of Embossed Rolling PinsFor a fancier design, roll your embossed rolling pin in different directions, lining up the patterns for a cool look.
Step 8: Check the goods
Lift the embossed rolling pin gently and check if your dough has a sweet pattern all over.Step 9: Cut shapes
If you're making cookies or fancy shapes, grab your cookie cutters or templates to cut out the embossed dough.Step 10: Bake Time
Follow your recipe's baking instructions. Pop that embossed dough in the oven at the right temperature until the edges turn a nice golden brown.Step 11: Get Creative
After baking, let your artistic side shine. Decorate your baked goods with icing, glaze, or whatever tickles your fancy.